Getting started
ready→made turns your Figma designs into clean, structured code using a real spatial layout engine — not an AI guessing from a screenshot. Here's the whole workflow, end to end.
🎁 Free example website — duplicate the ready→made Example Website in Figma (a complete, design-system-driven multi-page site) and follow this guide with a real design.
The workflow in four steps
- Select in Figma. Open the ready→made plugin and select any frame, section, or component you want to convert.
- Pick your target. Choose Oxygen Classic, Oxygen 6, Gutenberg, or HTML. The engine reads the real geometry and reconstructs proper flex/grid structure.
- Convert & export. Copy the result (for Oxygen, paste straight into the builder) or download the code. Vectors come through as inline SVG; images are exported and embedded.
- Ship — or finish with AI. Use it as-is, or hand the clean HTML to Cursor / Claude to add content, interactions, and the last 10%.
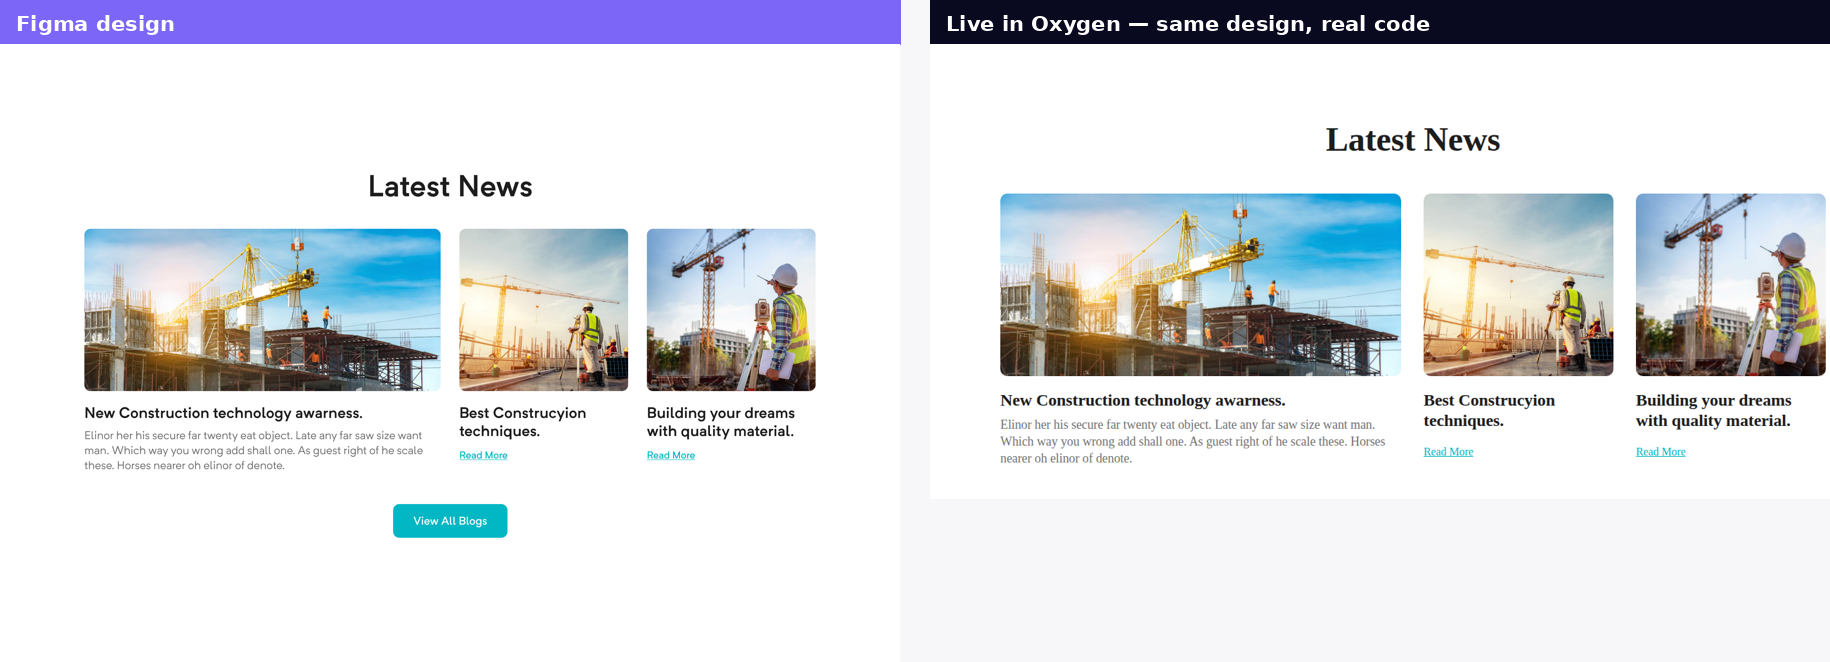
Same design in, real code out — running live in Oxygen.
Pasting into Oxygen
Oxygen Classic needs no plugin — convert, Copy, then press Ctrl/Cmd+Shift+I in the builder to open the Import Element JSON dialogue and paste. Oxygen 6 uses the free Ready-Made Oxygen Integration plugin — install it, then paste onto the canvas. Either way, your design lands as native, editable elements:
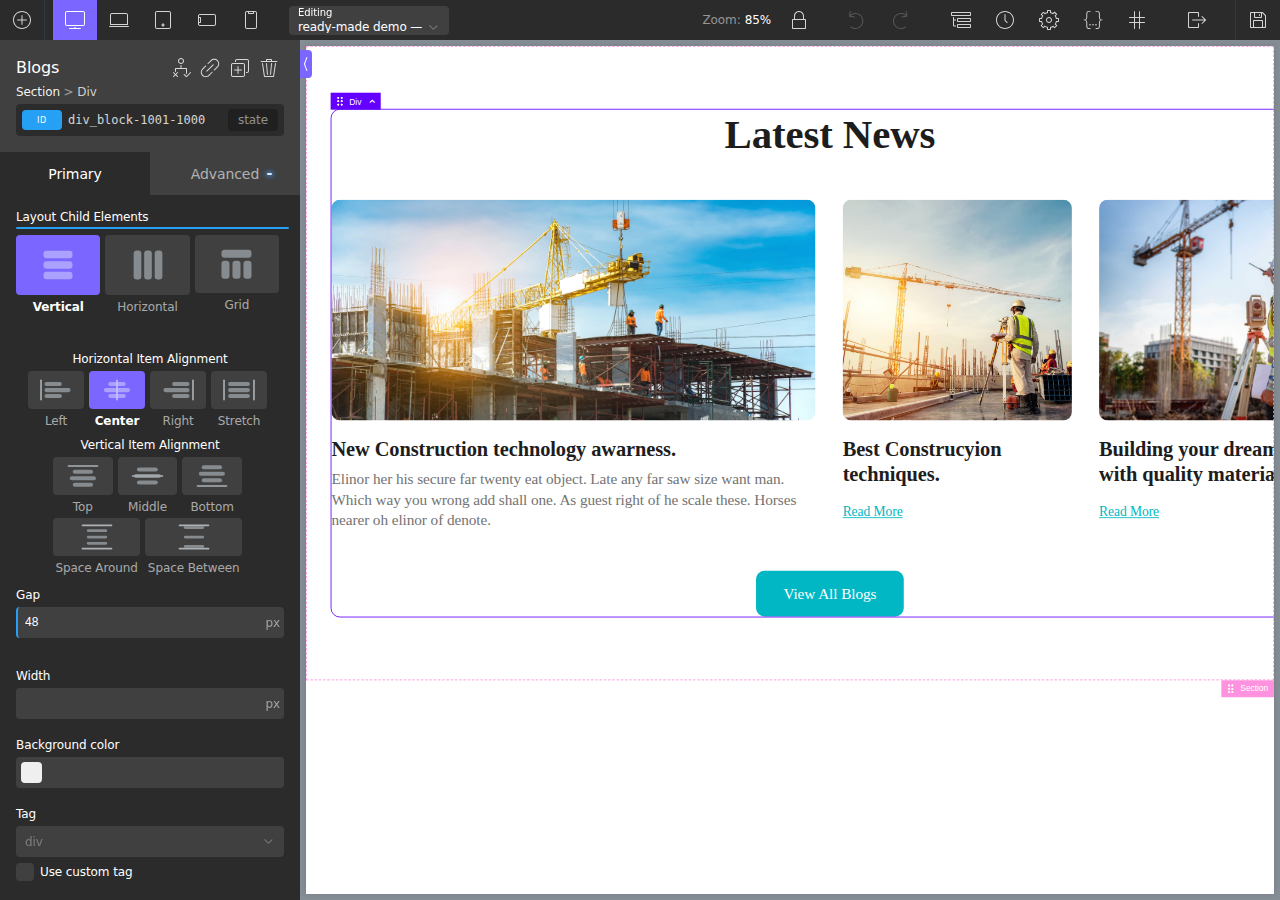
For Gutenberg and HTML you don't need any extra plugin — see Convert to Gutenberg and Convert to HTML.
Install & pick a plan
Install ready→made from the Figma community and create a free account. Converting a design needs Pro (€19/month) or Lifetime (€250), both with all six targets and full clean output. See the pricing page.
Next
New to it? Read Choosing a target to decide which output fits your stack, then Preparing your Figma file for the cleanest possible result.